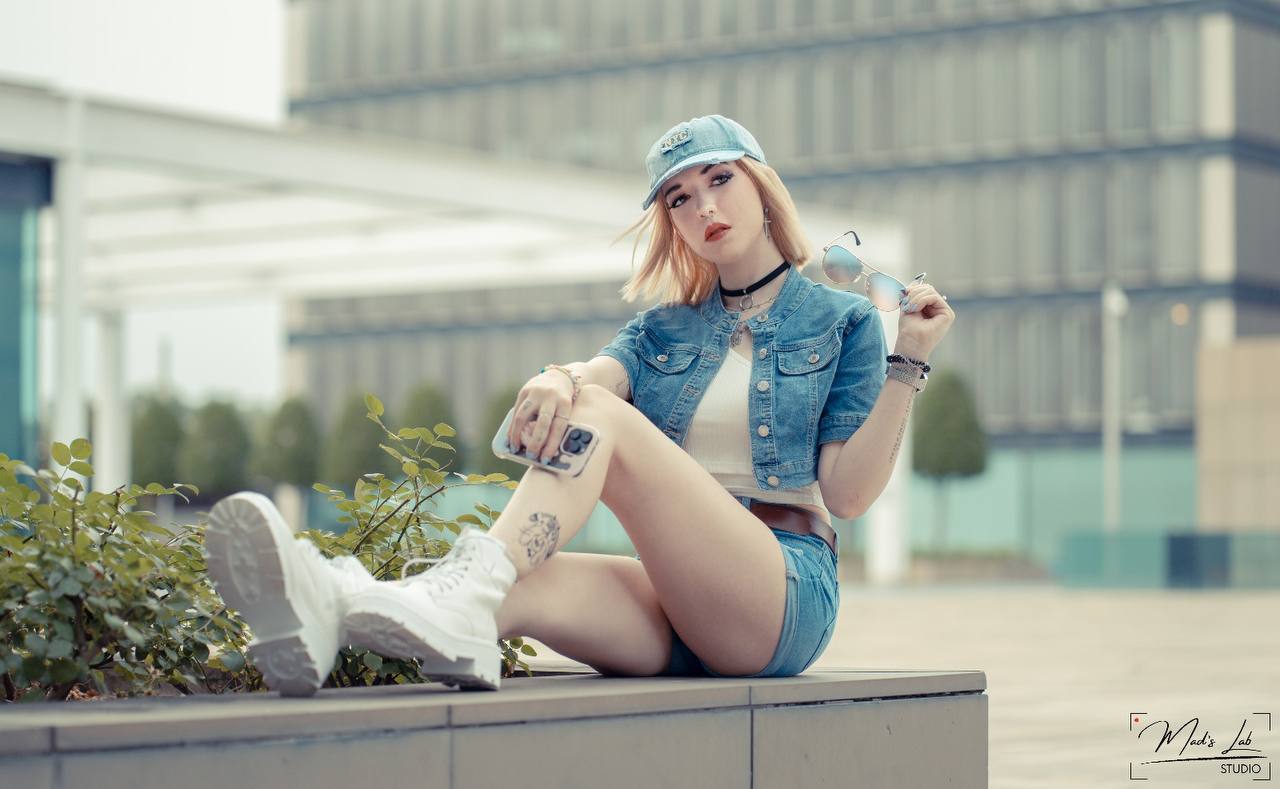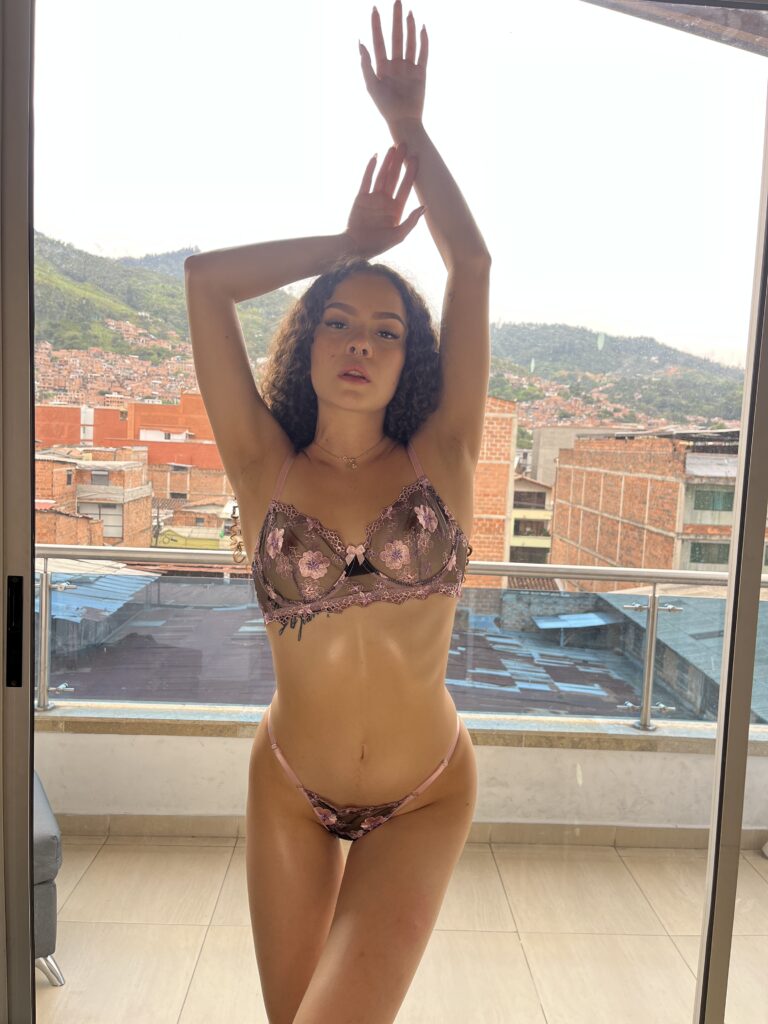
In the world of OnlyFans, great content isn’t just about what you create—it’s about how you present it. Quality visuals can make or break your success as a creator. Whether you’re shooting solo or with a photographer, understanding photography and lighting techniques can take your content from average to professional, helping you attract more subscribers and keep fans engaged. In 2025, standing out means mastering your visuals, and that starts with the right setup, mindset, and creativity.
A Small Story From a Model’s Journey
When I first started on OnlyFans, I used my phone, natural light, and a simple backdrop. My photos were okay—but not eye-catching. One day, a friend who was also a model shared some lighting tips, and I decided to experiment. I used a ring light, adjusted my angles, and paid attention to shadows. The difference was incredible. My photos suddenly looked more professional, and my engagement doubled within weeks. That’s when I realized that you don’t need a studio—just the right techniques.
Why Lighting and Photography Matter
Your photos and videos are your brand. Sharp, well-lit visuals grab attention, communicate quality, and show fans that you care about your craft. Lighting sets the mood—it can make your content look soft, sensual, bold, or dramatic. Meanwhile, the right angles highlight your best features and make your audience feel connected to your personality and style.
Photography Tips for OnlyFans Creators
- Know Your Angles
Spend time experimenting with different poses and camera heights. Small changes can completely transform how your body and face appear on camera. - Use the Right Equipment
You don’t need expensive gear. A modern smartphone, tripod, and ring light can produce studio-level results. Stability and focus are key. - Create a Clean Background
Your setting should never distract from you. Use neutral tones, minimal clutter, and soft props that complement your vibe. - Play With Composition
Apply the “rule of thirds” to create balanced and visually appealing images. This simple photography rule makes your shots look professional and intentional.

Lighting Tips That Make a Difference
- Natural Light Is Your Best Friend
Daylight near a window creates a soft, flattering glow. Morning and golden-hour lighting work wonders for warm, natural tones. - Invest in a Ring Light or Softbox
Artificial lighting helps control shadows and brightness. Ring lights provide even lighting, while softboxes give a more cinematic effect. - Avoid Overexposure
Too much light can wash out your features. Adjust brightness levels to maintain depth and texture in your skin. - Experiment With Mood Lighting
Colored LED lights can add creativity and emotion. Soft pinks, blues, or warm tones can match your content’s personality and theme.
Plan of Action
- Step 1: Set up a consistent shooting area with controlled lighting.
- Step 2: Test different light sources and angles until you find your signature style.
- Step 3: Edit lightly—focus on enhancing clarity, not over-filtering.
- Step 4: Keep your content fresh with seasonal or themed shoots.
- Step 5: Review your analytics to see which visuals drive the most engagement.
Final Thoughts
Great lighting and photography aren’t just about aesthetics—they’re about storytelling. Every image you post communicates your brand, your energy, and your professionalism. Fans can tell when a creator puts effort into their presentation, and that effort builds loyalty.
So, take the time to experiment, invest in your visuals, and discover your creative rhythm. The better your content looks, the stronger your personal brand becomes.
